Bake Your Perfect Ezekiel Bread Recipe with Our Guide
Table of Contents
There’s something deeply satisfying about creating nourishing food with your own hands. Maybe you’ve stood in the grocery aisle, staring at the $6 price tag on a single loaf, wondering if there’s a better way to enjoy this ancient staple. What if you could craft something even fresher and more wholesome right in your kitchen?
This guide unlocks the secrets behind a time-honored creation mentioned in religious texts, blending grains and legumes into a protein-packed masterpiece. Unlike mass-produced options, homemade versions let you control every ingredient – no preservatives, no shortcuts, just pure nourishment.
You’ll learn why sprouting grains transforms their nutritional profile, releasing vitamins and minerals often lost in modern processing. Discover how combining wheat, barley, and lentils creates a complete protein source that fuels your body longer than typical sliced loaves.
We’ve simplified the once-daunting process into clear steps anyone can follow. From soaking seeds to mastering oven temperatures, you’ll gain confidence with each stage. Imagine slicing into warm, fragrant loaves knowing exactly what went into them – and how much you saved compared to store prices.
Ready to reclaim this tradition and make it your own? Let’s begin.
Introduction and Background
The story of this nutrient-rich loaf begins in a time of scarcity and faith. Ancient texts laid the foundation for what we now recognize as a powerhouse of sustained energy. Let’s explore how this combination of simple elements became a modern kitchen staple.
From Scripture to Sustenance
A passage from Ezekiel 4:9 states: “Take wheat, barley, beans, lentils, millet, and fitches… make bread thereof.” This directive served practical and spiritual purposes. Without precise measurements, bakers today reinterpret ratios while honoring core ingredients.
Historically, these grains and legumes provided complete nutrition during hardship. Modern adaptations use sprouting to boost digestibility and nutrient absorption. Studies show sprouted varieties contain up to 30% more protein than unsprouted counterparts.
Why Home Baking Wins
Store-bought versions often cost $5-$8 per loaf and lose freshness quickly. By making it yourself, you control quality and avoid additives. Freshly milled flour from sprouted ingredients offers superior flavor and texture.
| Ingredient | Ancient Role | Modern Benefit |
|---|---|---|
| Wheat & Barley | Base carbohydrates | Fiber for gut health |
| Lentils & Beans | Protein source | Plant-based amino acids |
| Millet | Drought-resistant crop | Gluten-free option |
This blend creates a protein profile rivaling animal products. Each component complements others’ nutritional gaps, making the final product greater than the sum of its parts. Your kitchen becomes a bridge between ancient wisdom and contemporary wellness.
Essential Ingredients and Their Benefits
Every element in this nutrient-dense blend serves multiple purposes. Ancient grains and legumes form the foundation, while supporting ingredients elevate texture and flavor. Let’s explore how these components work together.
Ancient Grains and Legumes Explained

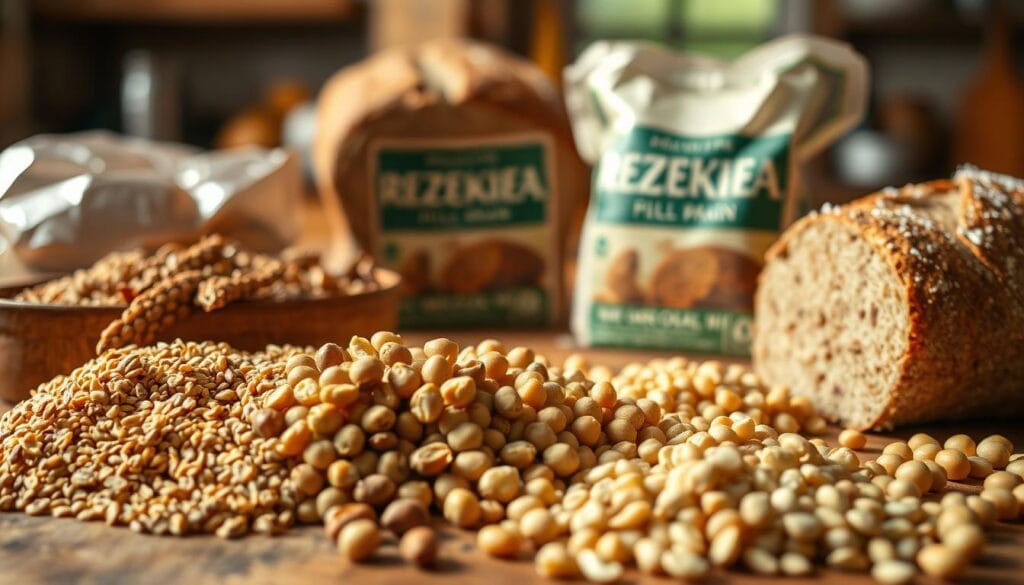
Hard white wheat builds structure, while spelt adds a nutty depth. Kamut® delivers buttery richness and airy texture – perfect for balancing dense mixtures. Millet lightens the crumb, and barley contributes soluble fiber for digestive health.
Legumes like red lentils and black beans complete the protein puzzle. When paired with grains, they form all nine essential amino acids. This combination rivals meat’s nutritional profile without cholesterol or saturated fats.
Other Key Ingredients: Olive Oil, Honey, and Yeast
Extra-virgin olive oil keeps the crumb tender with monounsaturated fats. Unlike butter or shortening, it won’t mask the grains’ natural flavors. Raw honey does triple duty: cutting earthiness, feeding yeast, and extending freshness.
Instant yeast ensures reliable rising without proofing. Filtered water prevents chlorine from stalling fermentation. Together, these elements create harmony between tradition and modern baking science.
| Ingredient | Functional Role | Health Benefit |
|---|---|---|
| Spelt | Flavor enhancer | Easier digestion |
| Millet | Texture lightener | Rich in magnesium |
| Red Lentils | Protein booster | Iron absorption |
Preparations: Sprouting, Milling, and Ingredient Tips
Unlocking the full potential of your ingredients begins long before mixing. Proper preparation transforms ordinary pantry staples into nutrient-rich foundations for exceptional baking.

How to Sprout Grains and Beans
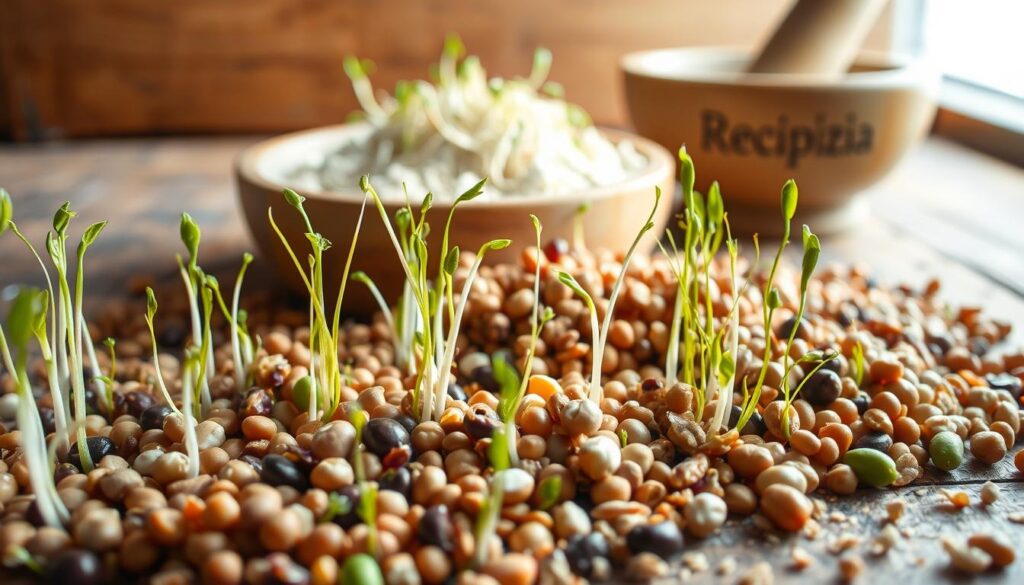
Start by soaking grains and beans separately in filtered water for 8 hours. Drain thoroughly using a mesh strainer. Over the next 3-4 days, rinse them twice daily to prevent mold. Tiny tails emerge around day 3 – millet often leads the pack.
Dehydrate sprouted mixtures at 112°F overnight. This preserves enzymes while creating crisp, mill-ready textures. Timing matters: Over-sprouted grains develop bitter notes, while under-sprouted ones lack nutritional boosts.
Milling Your Mixture for Fresh Flour
Use a grain mill or high-speed blender with dry container attachments. Grind small batches for immediate use – freshly milled flour loses nutrients fast due to oxidation. Measure ingredients post-sprouting, as volume increases by 15-20%.
Pro tip: Blend harder grains like wheat first before adding softer beans. This ensures even consistency without overheating your equipment. Store extra sprouted mixtures in airtight jars for up to a week.
Mixing, Kneading, and Dough Methods
Creating the ideal texture requires understanding how ancient grains behave differently than modern wheat. The blend of sprouted ingredients demands unique handling to develop structure while preserving nutrients. Let’s explore techniques that transform sticky batter into a cohesive, protein-rich foundation.

Mastering the Sticky Situation
Combine warm water, oil, and honey in your bowl first. Add two cups of flour mixture and mix thoroughly before introducing yeast. This sequence activates gluten gradually. Expect a wetter consistency than standard dough – it should cling to the bowl’s sides but still stretch when pulled.
Knead for 10 minutes until glossy strands form. Resist adding extra flour: The stickiness traps moisture needed for soft crumb structure. Use oiled hands or a dough scraper to handle the mixture without frustration.
Equipment Choices Made Simple
Stand mixers save time and reduce arm fatigue. Use the paddle attachment initially, switching to dough hooks after 3 minutes. Manual kneading works too – fold the dough over itself repeatedly, rotating it 90° each time. Both methods achieve similar results if you monitor texture changes.
| Method | Time Required | Best For |
|---|---|---|
| Stand Mixer | 8-10 minutes | Large batches |
| Hand Kneading | 12-15 minutes | Smaller portions |
| Hybrid Approach | Mixer + 2 min hands-on | Balancing effort |
Watch for these signs of readiness: dough springs back slowly when poked, and stretches thin without tearing. Let it rest 5 minutes before shaping. This brief pause allows gluten networks to relax for better oven spring.
Ezekiel bread recipe – Step-by-Step Guide
Transforming sprouted grains into golden perfection requires precision and patience. Follow these tested methods to achieve bakery-quality results in your own kitchen.
Mixing to Oven: Precision in Action
Combine 1 cup warm water (105-110°F), 1/4 cup olive oil, and 1/4 cup honey in your mixing bowl. Add 2 cups of ground sprouted mixture, stirring until smooth. Sprinkle 2 1/2 tsp instant yeast over the surface, then incorporate remaining flour gradually.
| Stage | Time | Key Action |
|---|---|---|
| Initial Mix | 5 minutes | Hydrate dry ingredients |
| Kneading | 10 minutes | Develop gluten structure |
| First Rise | 1-2 hours | Double in volume |
| Final Proof | 1-1.5 hours | Shape and pan prep |
Bake at 350°F until internal temperature reaches 190°F. Pro tip: Place a pan of water on the oven’s lower rack for crisp crust formation.
Post-Bake Mastery
Transfer baked loaves to a wire rack immediately. Wait 45 minutes before slicing – rushing causes crumbling. Use a serrated knife with gentle sawing motions for clean cuts.
Serve thick slices toasted with avocado or almond butter. For meal prep, freeze portions in airtight bags. Thaw at room temperature for 20 minutes before enjoying.
Tips for Perfect Rise and Baking Techniques
Mastering the art of fermentation transforms your kitchen into a science lab with delicious results. Yeast behaves differently depending on your environment—too cold, and it naps; too hot, and it panics. Finding that sweet spot between 75-85°F creates an ideal playground for microbial activity.
Achieving the Ideal Texture and Flavor
Watch your mixture closely during the first hour. Properly risen dough will feel airy yet springy when gently pressed. If it holds a fingerprint indent, it’s ready for shaping. Winter bakers: Place your bowl near a preheating oven to boost warmth.
| Environment | Rise Time Adjustment | Texture Impact |
|---|---|---|
| High Humidity | Reduce by 15-20 minutes | Softer crust |
| Dry Climate | Cover with damp cloth | Prevents cracking |
| Cool Room (Below 70°F) | Extend by 30-45 minutes | Denser crumb |
Troubleshooting Common Baking Issues
If your loaf emerges denser than expected, check yeast expiration dates. Old yeast lacks vigor for proper expansion. Crumbly slices? Let it cool completely before cutting—the structure sets as it rests.
| Problem | Likely Cause | Quick Fix |
|---|---|---|
| Flat Top | Over-proofed dough | Shorten second rise |
| Gummy Center | Undercooked interior | Use thermometer |
| Thick Crust | Low oven humidity | Add water pan |
Store cooled loaves in linen bags at room temperature for up to five days. For longer freshness, slice and freeze portions—they’ll toast straight from the freezer with no quality loss.
Conclusion
Your journey from ancient grains to modern nourishment is complete. By combining sprouted beans and grains, you’ve unlocked a protein-rich staple that fuels your body while honoring tradition. Each slice delivers more fiber and nutrients than typical loaves – without the additives found in store versions.
Customize your creation with toasted seeds or dried fruits for added texture. Let cooled loaves rest on a cooling rack before slicing to preserve their tender crumb. Room-temperature storage keeps it fresh for nearly a week, while freezing extends enjoyment for months.
This kitchen project proves wholesome eating doesn’t require specialty shops or high costs. With basic tools and patience, you control every element – from milling fresh flour to perfecting oven spring. Share warm slices with avocado smash or almond butter, knowing you’ve mastered a timeless craft.